Tutorial no :-6 In this tutorial we are going to create fire text effect using some of basic tools of Photoshop
STEP 2:- create a new blank document of size 1250x800 pixel.
Set the resolution to 72 pixel.
STEP 3:- create a new blank layer above this background layer and fill it with black colour .
STEP 4:-create a text layer above these layer..I am using these in my tutorial
Font type impact
Size 100px
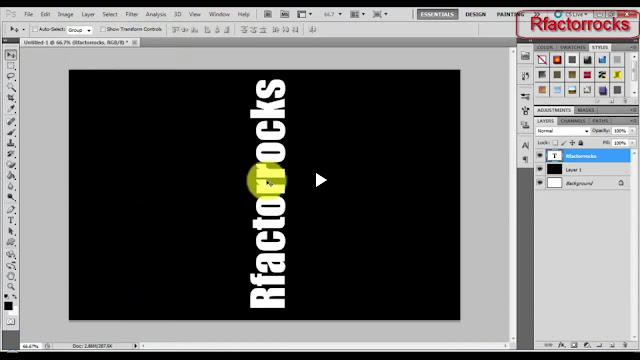
STEP 5:- we will be going to rotate this text anticlockwise. Before rotating this text. We have to raster this layer.right click on layer and select rasterize this layer.
After applying raster tool
Go to EDIT-> TRANSFORM->ROTATE 90CCW
STEP 6:- go to FILTER -> STYLISH -> WIND.
Fill these values in the box
Methods:- wind
Directions:- from right.
STEP7:- apply the same effect 3 times . After applying these 3 times the image will look like this.
Then go to EDIT -> TRANSFORM-> TRANSFORM CW.
STEP 8:- GO TO FILTER-> BLUR -> GAUSSIAN BLUR
Apply radius of blur :- 6.
. After applying Gaussian blur ur image will gives a smoking effect . That will reduces the roughy edges that come after applying the wind filter.
STEP 9:- create a new blank layer above all these layers.we will be pasting the text in this layer .
Now I to IMAGE -> APPLY IMAGE
Click OK .
STEP 10:- PRESS CNTRL +U to open HUE . This will color the layer into fiery text.fill these values to color the layer .
Check colorize
Saturation-> 100
Hue -> 40
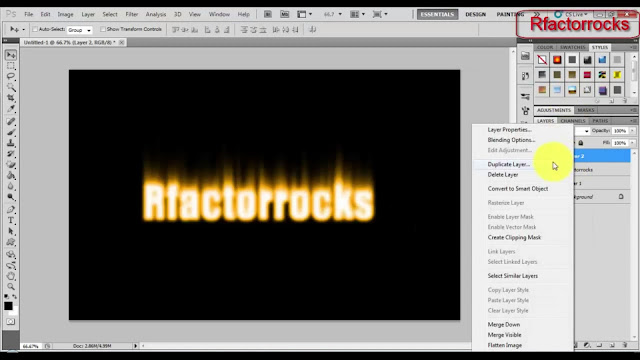
STEP 11:- Duplicate this layer..Selecting the duplicate layer open again HUE (Cntrl +U). This time do not use colorize
Fill these values
Hue =-40.
to follow this tutorial visit the youtube channel


No comments:
Post a Comment