
Step 1: Create a new document of size width 10px and height 10 PX. Resolution of 72 PX . This is the basic of our polka dot for our effect that we are going to applied .

STEP 2:- use the zoom tool to zoom out the new document that make you to view this image.

Step 3:- Use the Marque tool and select the circular shape to draw a circle shape.press shift key while drawing the circle this will help to draw a perfect circle otherwise it will looks like a ellipse

Step4:- fill this circle with black colour and press cntrl +I to invert the Color .
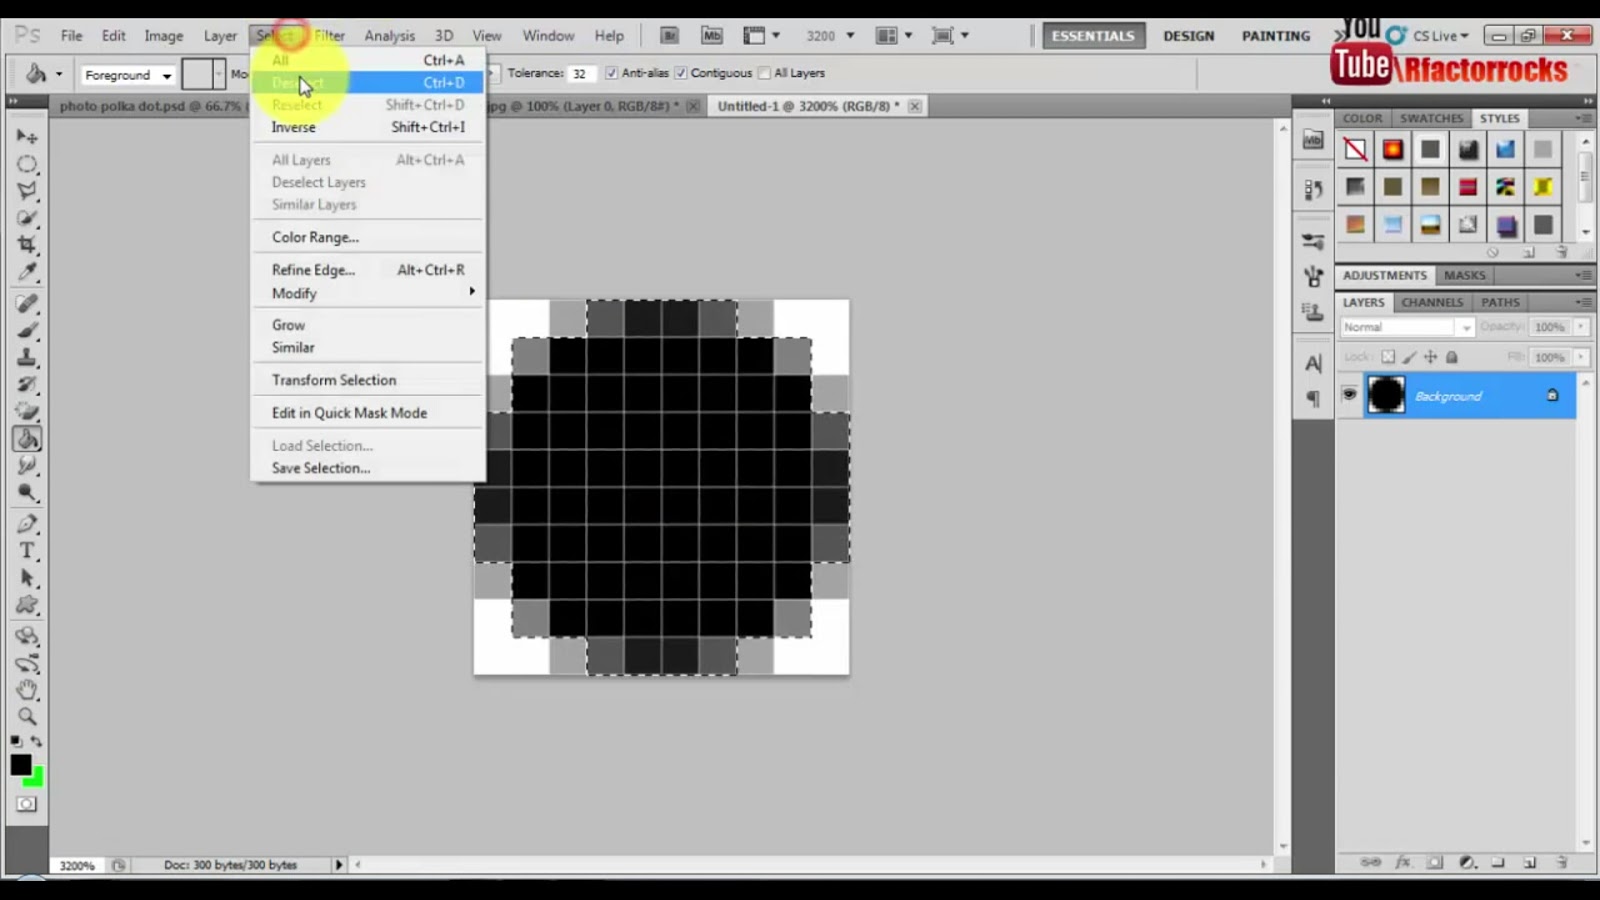

Step 5:- go to EDIT-> DEFINE PATTERN. Name the pattern as polka dot pattern. Naming will help you to identify the same afterward
Step6:- you are done with part 1
Step7:- Now go back to original image on which you are going to apply the effect.

STEP 8:- right click on image and convert this into smart object.

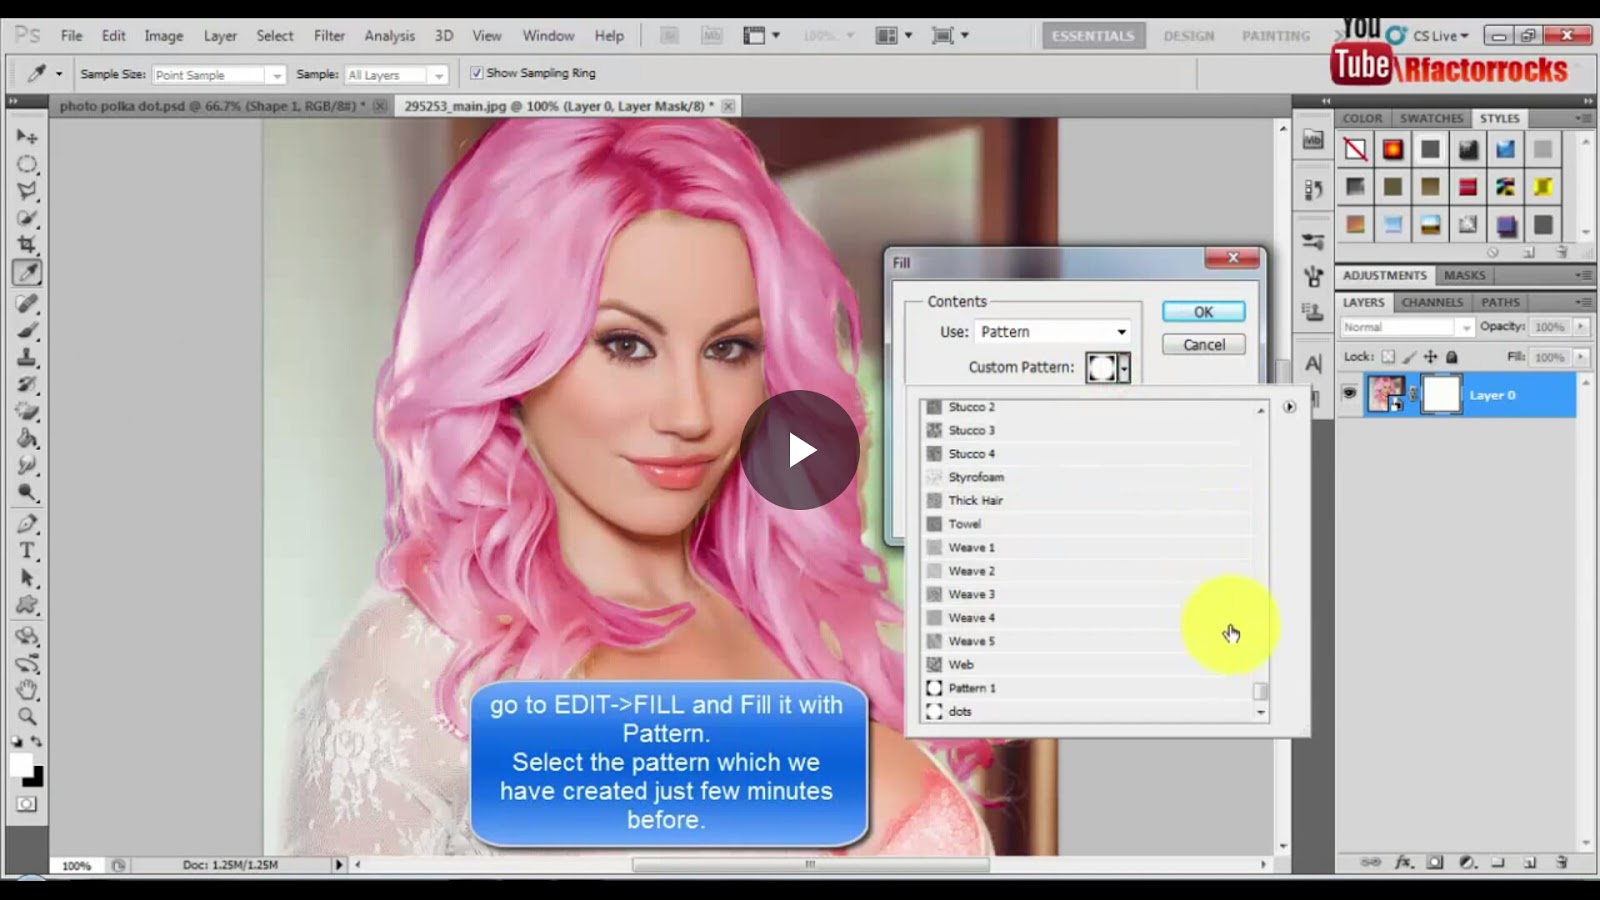
STEP 10:- now go to Edit -> fill
Content
Use pattern
Custom pattern polka dot pattern
Fill the mask layer with polka dot pattern.this pattern was created by us in part 1.
STEP 11:- Now you are done with polka dot pattern . The image after applying the polka dot pattern will look like this.

You are done with this tutorial . Now you can also follow my YouTube tutorial for more details .
No comments:
Post a Comment